What’s the best way to make cards for a spelling test? (This is for children who are learning their native language, so no translations are required).
I want the front of the card to sometimes contain an image, and to use speech synthesis to say the word. I don’t want the user to see the word before they’ve tested themselves.
I use AwesomeTTS to add a tag into the card template:
{{Front}}
{{type:Back}}
{{tts en_GB voices=AwesomeTTS:Front}}
And the user types the answer into a box.
The only way I can find to hide the text on the front of the card is to set the text on each card to white:
<div style="color:white"> word to be spoken goes here</div>
Is this the best way to do this? It feels a bit clunky.
Someone on Reddit suggested doing the following:
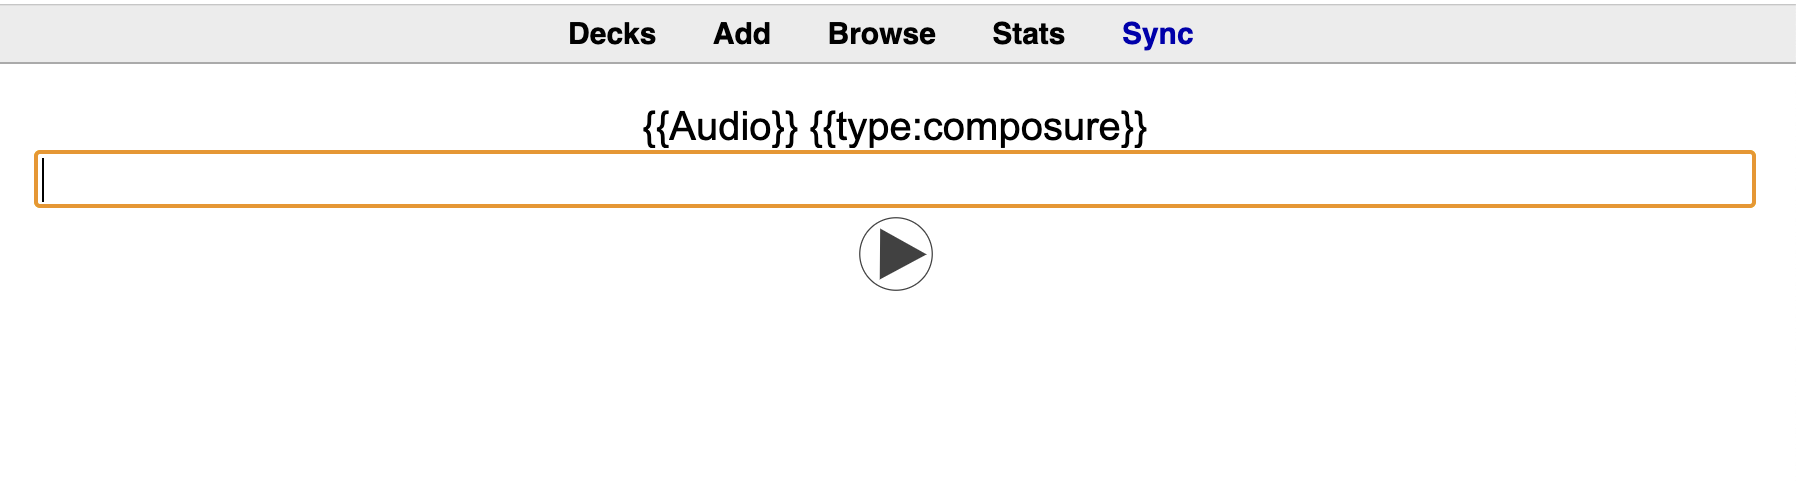
{{Audio}} {{type:composure}}
as the front side of my card, and
{{FrontSide}}
as the back card,
But when I study the card, the speech synthesiser reads out “audio type composure”, and I see all the code on screen, ie it shows “{{Audio}} {{type:composure}}”.
I entered the code in the HTML editor, not the visual editor. I’m on an M1 Mac running Anki 2.1.54
Images showing what I mean:
This is what I enter on a card:

And this is how it looks (I want the words hidden, and I hear the wrong speech):